How to Fix a Running Toilet: Flapper, Fill Valve, Chain and Float
Stop a toilet that keeps running with a dye test, then fix the flapper, chain, fill valve or float height. Clear steps, no plumber needed for most jobs.
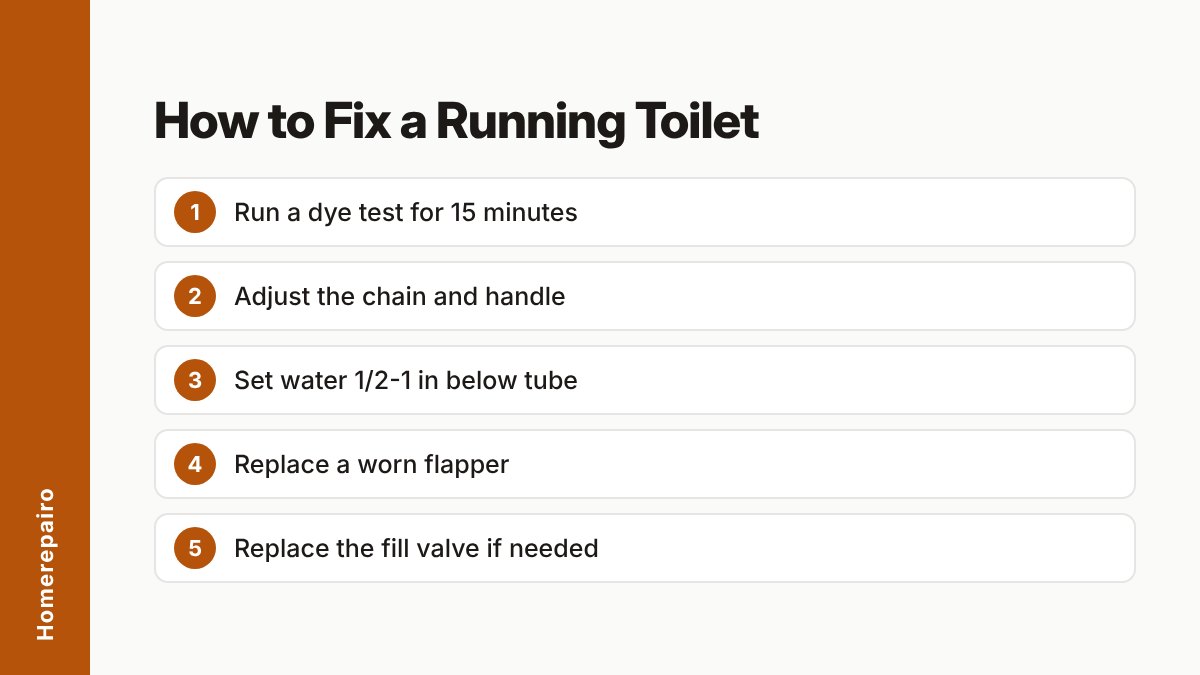
A running toilet is almost always one of four things: a flapper that does not seal, a chain that is too tight or too slack, a water level set too high, or a worn fill valve. You can check and fix all four with basic hand tools, usually in under an hour.
Quick answer
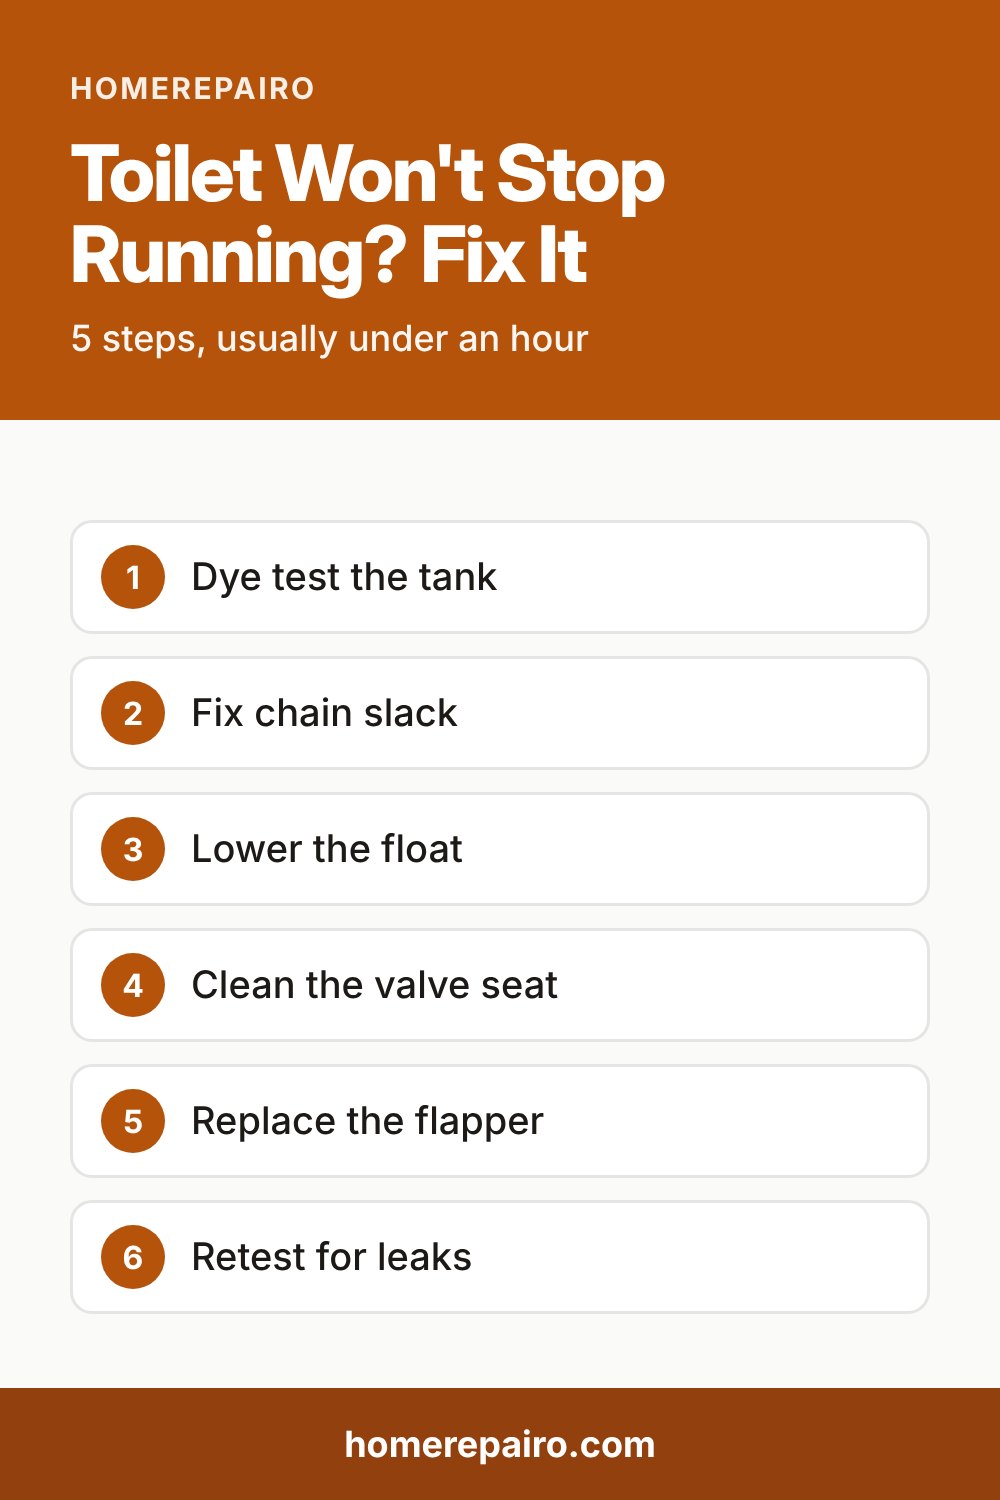
Work in this order, because each step is cheaper and faster than the next:
- Jiggle the handle. If the running stops, check the chain and handle.
- Do a dye test to see whether water is leaking from the tank into the bowl.
- Check the water level against the overflow tube and adjust the float.
- Replace the flapper if it is worn, or the fill valve if water never stops entering the tank.
What causes a running toilet
The tank holds water behind a rubber flapper. When you flush, the flapper lifts, the tank empties into the bowl, then the flapper drops back and the fill valve refills the tank. If any part of that cycle fails, water keeps moving.
| Symptom | Likely cause | Fix |
|---|---|---|
| Runs until you jiggle the handle | Chain too short or too long, loose handle | Adjust chain length, tighten handle nut |
| Dye shows up in the bowl | Worn or misaligned flapper, dirty valve seat | Clean seat, replace flapper |
| Water trickles down the overflow tube | Water level too high | Lower the float |
| Water keeps entering and never stops | Float stuck or fill valve worn out | Adjust float, then replace fill valve |
| Toilet refills by itself every few minutes (“ghost flushing”) | Slow flapper leak | Replace flapper |
What you need
- A few drops of food coloring or a dye tablet
- A replacement flapper (if the dye test shows a leak)
- A screwdriver and adjustable pliers
- Fine sandpaper or a scouring pad for the flapper seat
- A towel and a small bucket or sponge
Take the old flapper, or a clear photo of it, to the store. Check its width and whether it has a foam float, since the replacement should match.
Step 1: Run the dye test
This test tells you whether the leak is between the tank and the bowl.
- Remove the tank lid and set it somewhere safe.
- Add a few drops of food coloring (or one dye tablet) to the tank. Do not flush.
- Wait at least 15 minutes. Guidance varies from 10 to 20 minutes, and the longer end catches slow leaks.
- Look in the bowl. Colored water means the flapper or its seat is leaking. Clear water points toward the handle, chain or water level.
- Flush afterward so the dye does not stain the tank.
Step 2: Check the handle and chain
If you have to jiggle the handle to stop the running, look for these problems:
- Chain too short. It holds the flapper slightly open.
- Chain too long. Slack can slip under the flapper and stop it from closing. A chain caught under the flapper is a known source of waste.
- Kinked chain. Replace it with a ball-type chain.
- Loose handle. Tighten the nut that holds the handle to the tank. If it still sticks, replace the handle.
Set the chain so there is only a little slack when the flapper is closed. Flush a few times to confirm the flapper drops fully into place.
Step 3: Set the water level and float height
With the tank full, look at the overflow tube, the open pipe in the middle of the tank. Water should stop about 1/2 to 1 inch (1.5 to 2.5 cm) below its top. If water is spilling into the tube, the toilet will run constantly.
How you adjust depends on the fill valve type:
| Fill valve type | How to lower the water level |
|---|---|
| Float cup on a vertical rod | Squeeze the spring clip and slide the float down the rod, or turn the adjusting screw clockwise |
| Float ball on a metal arm | Turn the screw where the arm meets the valve, or gently bend the arm down |
Also check the small refill tube. Its end should sit inside the overflow tube and no deeper than about 2 inches (5 cm), so it does not siphon water back.
Flush and watch where the water stops. If the level stays high after adjusting, the float may be waterlogged or the whole fill valve may be worn out and need replacing.
Step 4: Replace the flapper
The flapper is the most common cause of leaks, and replacing it is a quick job. Rub the underside of the old one. If it leaves rubber streaks on your fingers or feels hard, replace it.
- Turn off the water at the wall shutoff valve (the valve near the floor behind the toilet) by turning it clockwise.
- Flush to empty the tank. Note how the chain is attached and how much slack it has.
- Unhook the old flapper from the overflow tube ears and from the chain.
- Clean the valve seat, the ring the flapper sits on. Remove any corrosion or mineral buildup, and smooth it with fine sandpaper. Dry it.
- Install the new flapper and attach the chain with the same slack as before.
- Turn the water on, let the tank fill, and repeat the dye test.
In the UK and Australia the tank is usually called the cistern, and the flapper may be sold as a flush valve seal or washer. Dual-flush toilets often have a seal at the base of the central canister instead. Use the exact part the manufacturer specifies.
Step 5: Replace the fill valve if needed
If the water never stops entering the tank, even after adjusting the float, the fill valve has likely worn out. Replacement kits come with instructions for each model. Turn off the water supply and empty the tank before starting, and use a kit that fits your tank. If you are not comfortable removing the supply line, this is a good point to call a plumber.
Common mistakes
- Skipping the dye test. You may replace a part that was not the problem.
- Buying the wrong flapper. Sizes and styles differ, so match the old one.
- Leaving the water level too high. It looks fine but quietly spills into the overflow tube.
- Using in-tank bowl cleaners. Time-released tablets and strong chlorine cleaners can shorten the life of rubber parts. If you use them, check for leaks more often.
- Forgetting the seat. A new flapper will still leak on a corroded or gritty seat.
- Replacing the flapper only once it fails. Treat it as routine upkeep every 3 to 5 years.
When to call a professional
Call a plumber if the shutoff valve will not close or leaks, the supply line is corroded, the tank is cracked, water is leaking onto the floor, or the toilet still runs after you have replaced the flapper and fill valve. Sometimes the cost of repeated repairs on an old toilet approaches the cost of a new, more efficient one, and a plumber can help you decide.
Sources
Frequently asked questions
Why does my toilet keep running after I flush?
Usually the flapper is not sealing, the chain is the wrong length, or the water level is set too high so it spills into the overflow tube. A worn fill valve that never shuts off is the other common cause.
How often should I replace a toilet flapper?
Guidance from water agencies ranges from every 3 to 5 years, and at least every five years. Replace it sooner if it leaves rubber streaks on your fingers or no longer seals.
How high should the water be in the toilet tank?
About 1/2 to 1 inch (roughly 1.5 to 2.5 cm) below the top of the overflow tube. Higher than that and water spills down the tube; much lower and the flush may be weak.
Does a running toilet really waste that much water?
It can. A worn flapper can leak silently for a long time, and the EPA notes that the average household's leaks can waste more than 9,300 gallons a year.